
Bought some flowers at the grocery store a week ago and realized the other day that I had not taken any photos of them! I am really losing it ...
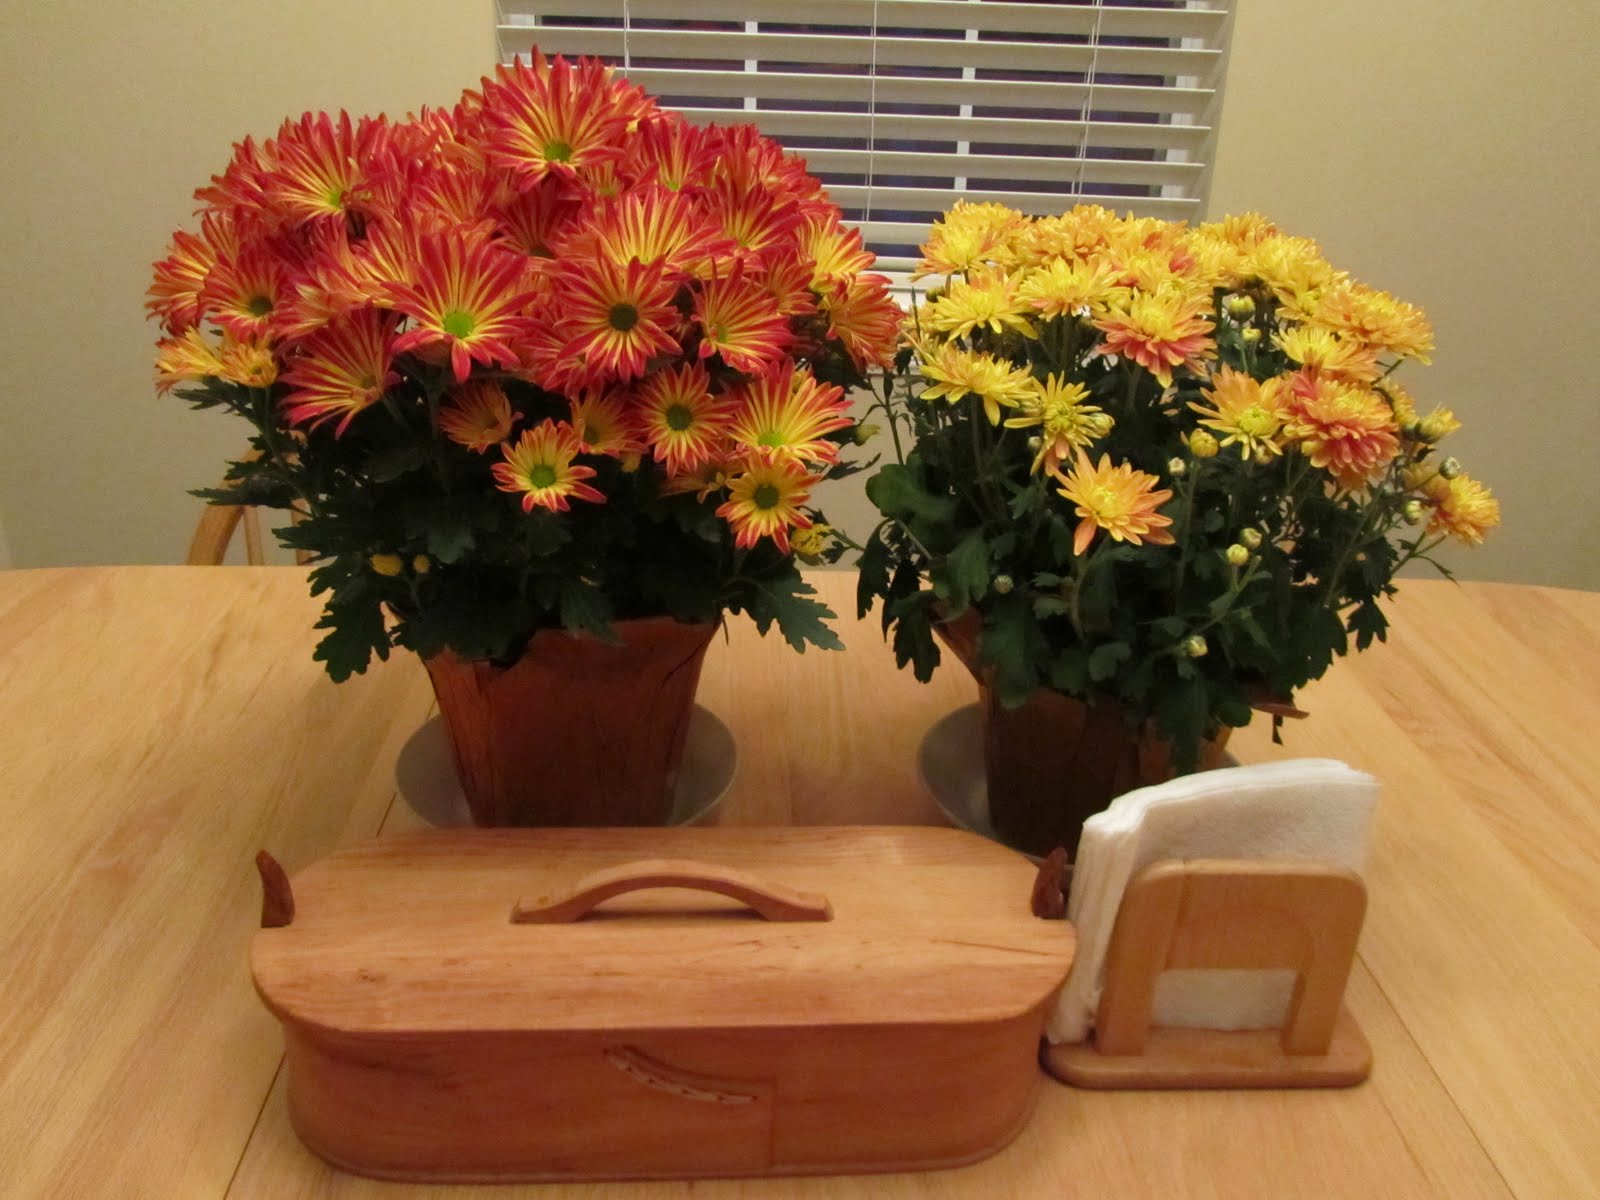
So, I fixed that problem right away and ended up with some lovely photos.
I had learned a new trick in Photoshop - something that I think I had misunderstood when I read the Photoshop books. I am thrilled that I have figured this out!
Basically - it is a way to create your own textures. Remember back in Australia when I took a bunch of texture photos? Oh, never mind ... I did, and used them - in a different way. I would take my photo I was working with and lay the texture photo on top of it, then use one of the Photoshop 'Blending Modes' to have the original photo show through with the texture picture showing also.
The Photoshop blending modes are a bit complicated, but basically there are about 25 of them and each one takes two layers in Photoshop and moooshes them together - and depending on which mode it is - does different things with the top and bottom chunks - say it is a pixel in size and the top one is black and the bottom one is pink - some modes would blend them together, some would leave the black black, some would leave the pink pink and the black dissapears (it is on top, you see) and some would come up with something totally unpredictable ... to me - it makes sense in someones world ...
So - these days when I am using Blending Modes - which is all the time on all my photos - I will scroll through them to see what each one looks like. It is amazing how they will change a photo! I can take a photo, duplicate it - so now I have two of the exact same photo, but on the top photo (blending modes always work with the layer below it, so it would always be the top photo (but I can get a photo with 30 - 40 layers - so keeping that straight is paramount) Ok it would always be the top photo that I am changing the blending mode on - and say I change it to 'Soft Light'.
Yeah - it means absolutely NOTHING to me either, but I know if I do that all the colors in my photo deepen and 'pop' making the photo more vibrant. If it is washed out, I can use 'Multiply' and it basically doubles the color. 'Screen' lightens the color. 'Color Dodge' SUPER DARKENS the color and sometimes I use it to bring out the grain in a wood, but then take the opacity of the top layer down to, say, 30% so that the dark stuff now is transparent (70% transparent) with the original photo showing through blending them nicely and making things look totally different than had I used another Blending Mode. So - basically there are an infinite ways to use 'Blending Modes' and they are a BLAST!
I can sort of predict what they are going to do - but not all the time, thus the scrolling through them just to make sure I am not missing out on making something that is simply spectacular.
OK, enough about Blending Modes.
I was noticing some graphics at a on-line graphics store that looked embossed. They all come grey, and when you place them on top of another layer and use the 'Overlay' Blending Mode - they become transparent and the embossed design shows on what ever was below it.
I was wondering how they made the 'Embossed' papers? Wasn't that just a texture? So I started to research and ran into a fabulous Filter (seriously - WHY a 'filter' I have no clue - just to further confuse you ...). It is called the 'Texturizer' and is WAY COOL!
So, for you who have asked that I include instructions with my examples. It is easy to make a texture out of any photo. Here are the steps.
1) Pick a photo with some texture in it. I picked this photo:

2) Pull it into Photoshop and then immediately (you don't need to do anything to it) save it as a .psd file (the Photoshop file type). That needs to be done simply because the Texturizer is looking for that file type and only that file type.
3)Create a new page - say 12 x 12 inches at 300 dpi (the standard 'scrapbooking' size). Add a layer (I believe this is optional - but I always do it - not making changes on the bottom most layer of what I am working on).
4)Pick a color and set your foreground that color - and hit (I tried to enter the command, but blogger interpreted it as HTML code and it disappears so I will have to type it out)hit the 'alt' key and the 'backspace' key at the same time (on a PC - I forget what the command is on a mac) which is a shortcut to fill the layer with the foreground color.
5)In the top options in Photoshop click on: Filter
6)In the drop down menu pick: Texture
7) In that drop down menu pick: Texturizer
This will bring you up an entirely new screen and will texture your paper with what ever was used last. On that page on the right is the controls. Below the 'OK' and 'Cancel' there is the word Texture and a field after it showing you what texture it is using. DIRECTLY TO THE RIGHT OF THAT is a teeny weeeny little triangle followed by four lines (about the size of a dash) one on top of the other. Click on that symbol and 'Load Texture' will drop down as an option.
8) Click on 'Load Texture' and using the browse - find your newly created .psd file. Double click on it and ....
voilà:

Your photo as an embossed texture!!!
OK, so you don't care - I think it is cool!
I have been playing around with it and did something fun with it and my photos.
Took this picture:

Made it into an embossed layer (in lavender):

THEN I placed the photo ON TOP of the lavender embossed page, reduced the opacity so I could see through it and lined them both up so that they were identical. Upped the opacity back to 100% on the photo and changed the Blending Mode to 'Overlay':

I liked the effect, but it had some dots that looked like noise (I don't know if you can see them on the photos so small on my blog - if you really care - double click on it and blow it up big and you will be able to see the difference) so I ran it through a lovely piece of software that I have that takes all that out and makes it smooth:

OK, here is another - and I am going to show you what the different Blending Modes do. I am hoping that the difference is pronounced enough for you to see with the photos this small - it is very obvious when I am looking at them on my monitor ...
So ... take the photo:

Make the overlay:

Combine them with the photo on top - lined up exactly with the photo at about 30% opacity. This is what it looks like when the opacity at 30% (Note - if you cannot see this at all it is a shame - the embossing makes the photo look 3-dimensional):

Here I used the Blending Mode: "Hard Light":
Blending Mode: "Linear Light":

Blending Mode: "Overlay":

Blending Mode: "Soft Light":

I left the Blending Mode on 'Soft Light' but changed the color of the embossed layer to the blue:

And got this. I still have a hard time predicting what a particular color with a particular Blending Mode will do - that will take some time or a lot more understanding of Blending Modes on my part before it happens ...

Cool? Yes? No?
Oh, well.
So ... I mentioned that I took a bunch of texture photos in Australia. I have used them for many things. But NOW I can use them to make beautiful embossed papers:
This:

From this:

This:

From this: (I know, I know - it is not rocket science and looks just like the photo ... I will shut up ...)


Well, I PERSONALLY had fun with that - for you it just might have been tedious getting through ....
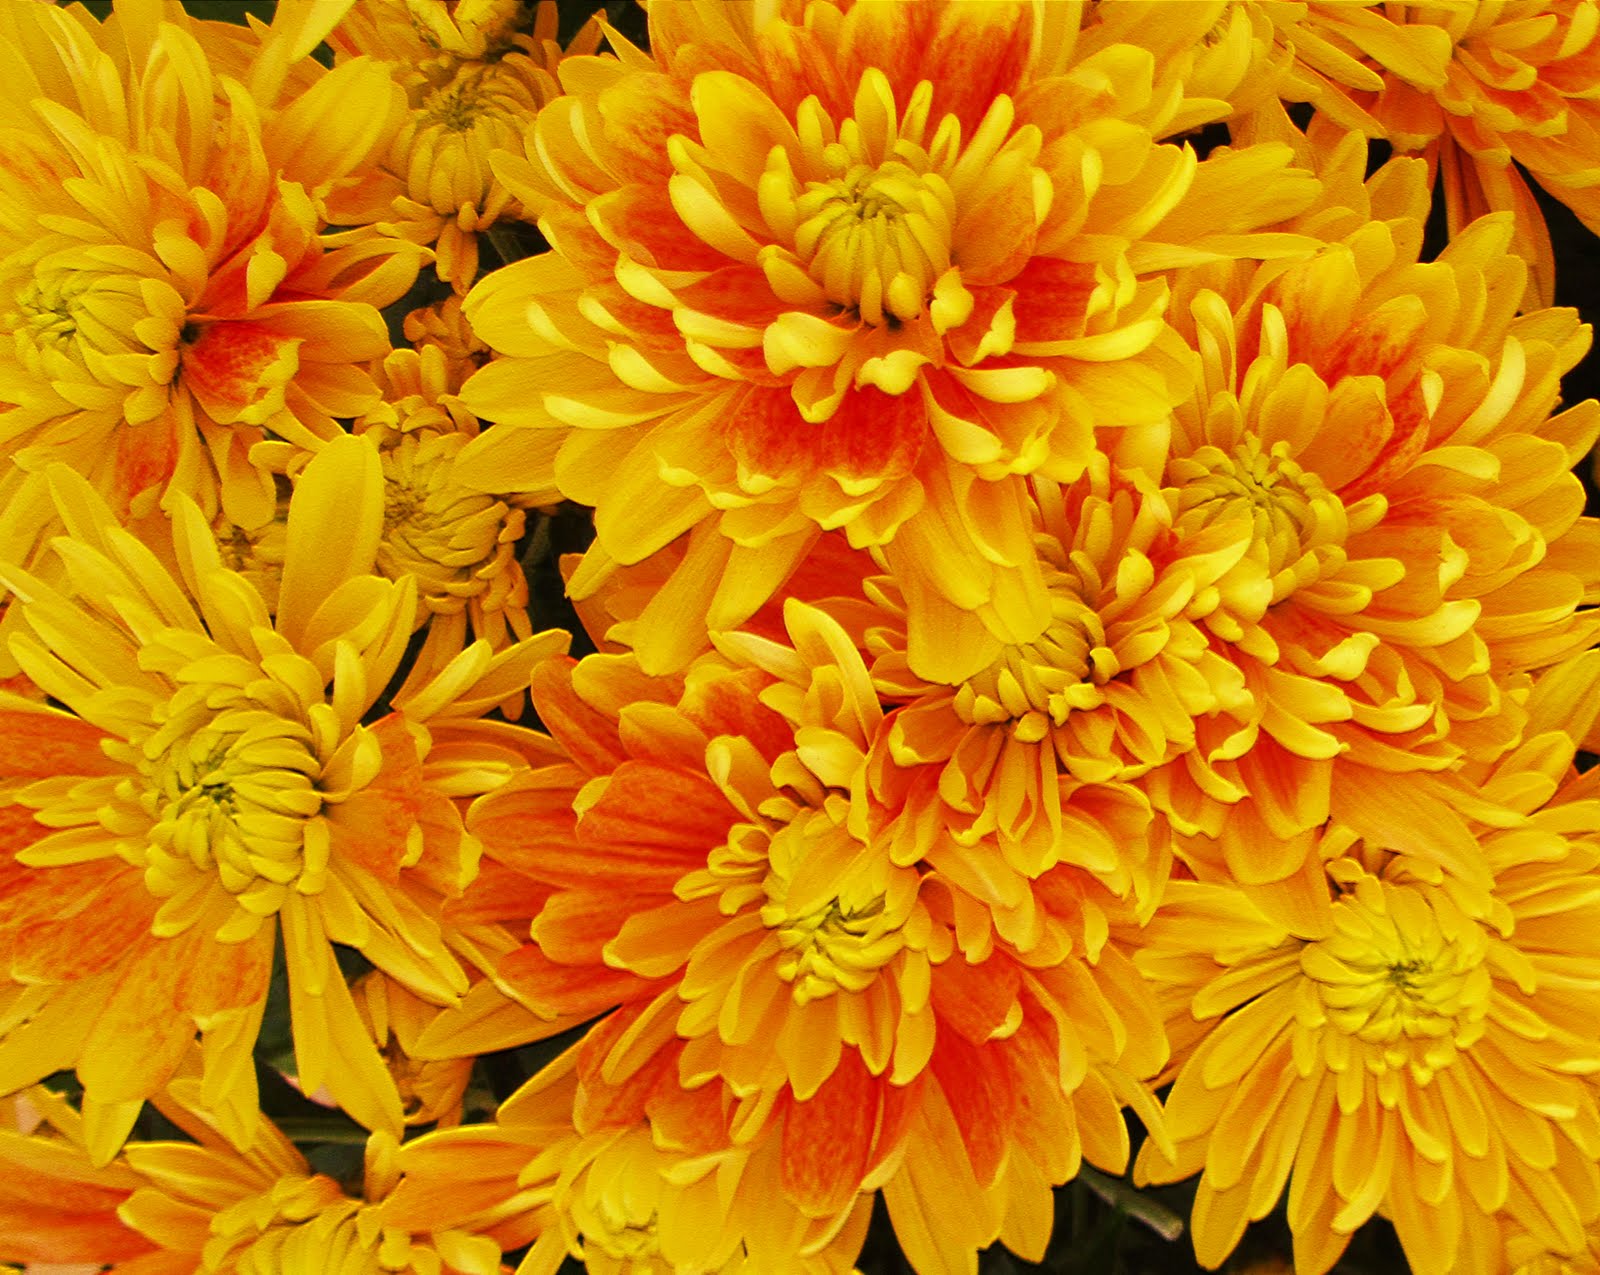
And finally - I am going to finish by shutting up and dumping a bunch of flower photos that I played with in Photoshop to complete out this post.
But I have to say - aren't these flowers absolutely stunning? Looking at the entire container of flowers does not do them justice like these close ups do!


Night all .....
Thanks for being so patient with me and my Photoshop enthusiasm ...
1 comment:
That is amazing! I love it.
Post a Comment